Introduction:
This guide covers everything you need to know about using the Web Portal. Included are steps for each user and how to set them up in Quadpro.
What is the Quadpro Job Request Web Portal?
•The web portal is a useful tool that can be used by any employee on your sites wherever they are located during the day.
•Using one dedicated website, users can log in and reported issues throughout the site when noticed. Administrators then receive and assign these requests to the necessary maintenance operatives.
•The portal is very useful in keeping track of fixes, projects and requests that can often go unnoticed if not logged correctly.
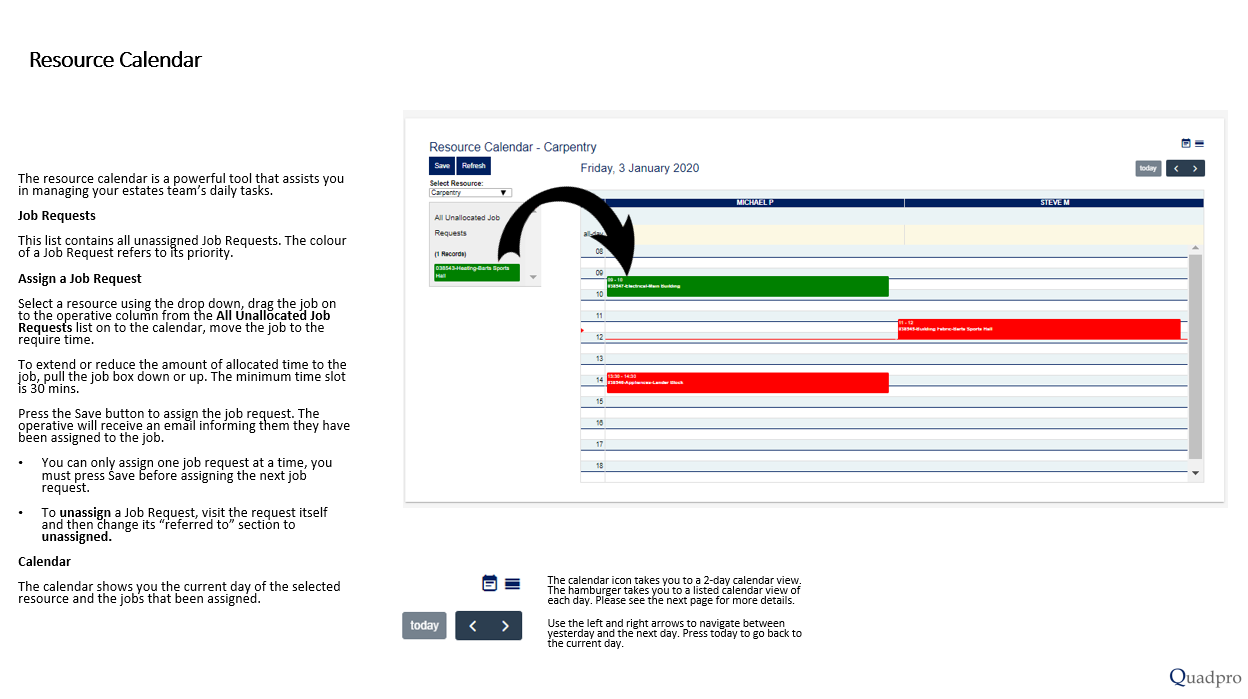
•Managers can also assign, update, create and schedule jobs via the portal using the resource calendar.
Settings, Permissions and Building Allocation
Each operative user will need to have the following:
•A Job Requestor Originator profile.
•Account permissions to create and view Job Requests
•Assigned building or site*
* Optional
Head to Admin > Glossary > Contacts & Users. Choose Job Requests Originators and open the list of users you have already assigned to this category. Click on a user and head to Approvals. Each user will need a combination of Permitted Services, these are listed below.
Manager
Web Access Type = 3
Permitted Services
1.Job Request Creation
2.Job Request Action
3.Works Order Contact

Logging In
•The Web Portal can be accessed via a dedicated URL provided by Quadpro or your IT Department.
•If you have been set up with an account, your username is your first and last name.
•If you do not have an account, please contact your system administrator.
•*please note that these passwords are encrypted and are not visible to Quadpro administrator. They can be reset by each user using the Forgot your password? Link.

Using the Manager Portal
Firstly we will cover what the manager’s view will be on the request list view page.
This is similar to what basic staff users see however, managers will be able to see all Job Requests under their designated site or buildings. They can also enter and assign/schedule each one that comes through.
The current list view displays all requests within your active financial year or current year, in this example shown it is 2019. Using the drop-down menu at the top of the table, this can be changed to any year as desired.
The dashboard menu across the top of the list displays Unresolved, Overdue, Due today, Materials on Order, and On hold Job Requests. To filter these by the relative categories simply click on a box.
Managers can filter Job Requests by year and not by site or building. To filter by location this can be done via the location tab’s search field.
To view a Job Request, click on the ID number situated in the REF column.
Amber Flashes on the left-hand side of the Job Request denote a Job Request is due today whilst a Red Flash is assigned to those that are overdue.
Use the search boxes to further filter for your Job Requests in further detail. Click the Hide/Show button to toggle the statistic display at the top of the list.


